Creating Dali Inspired Melting Clock
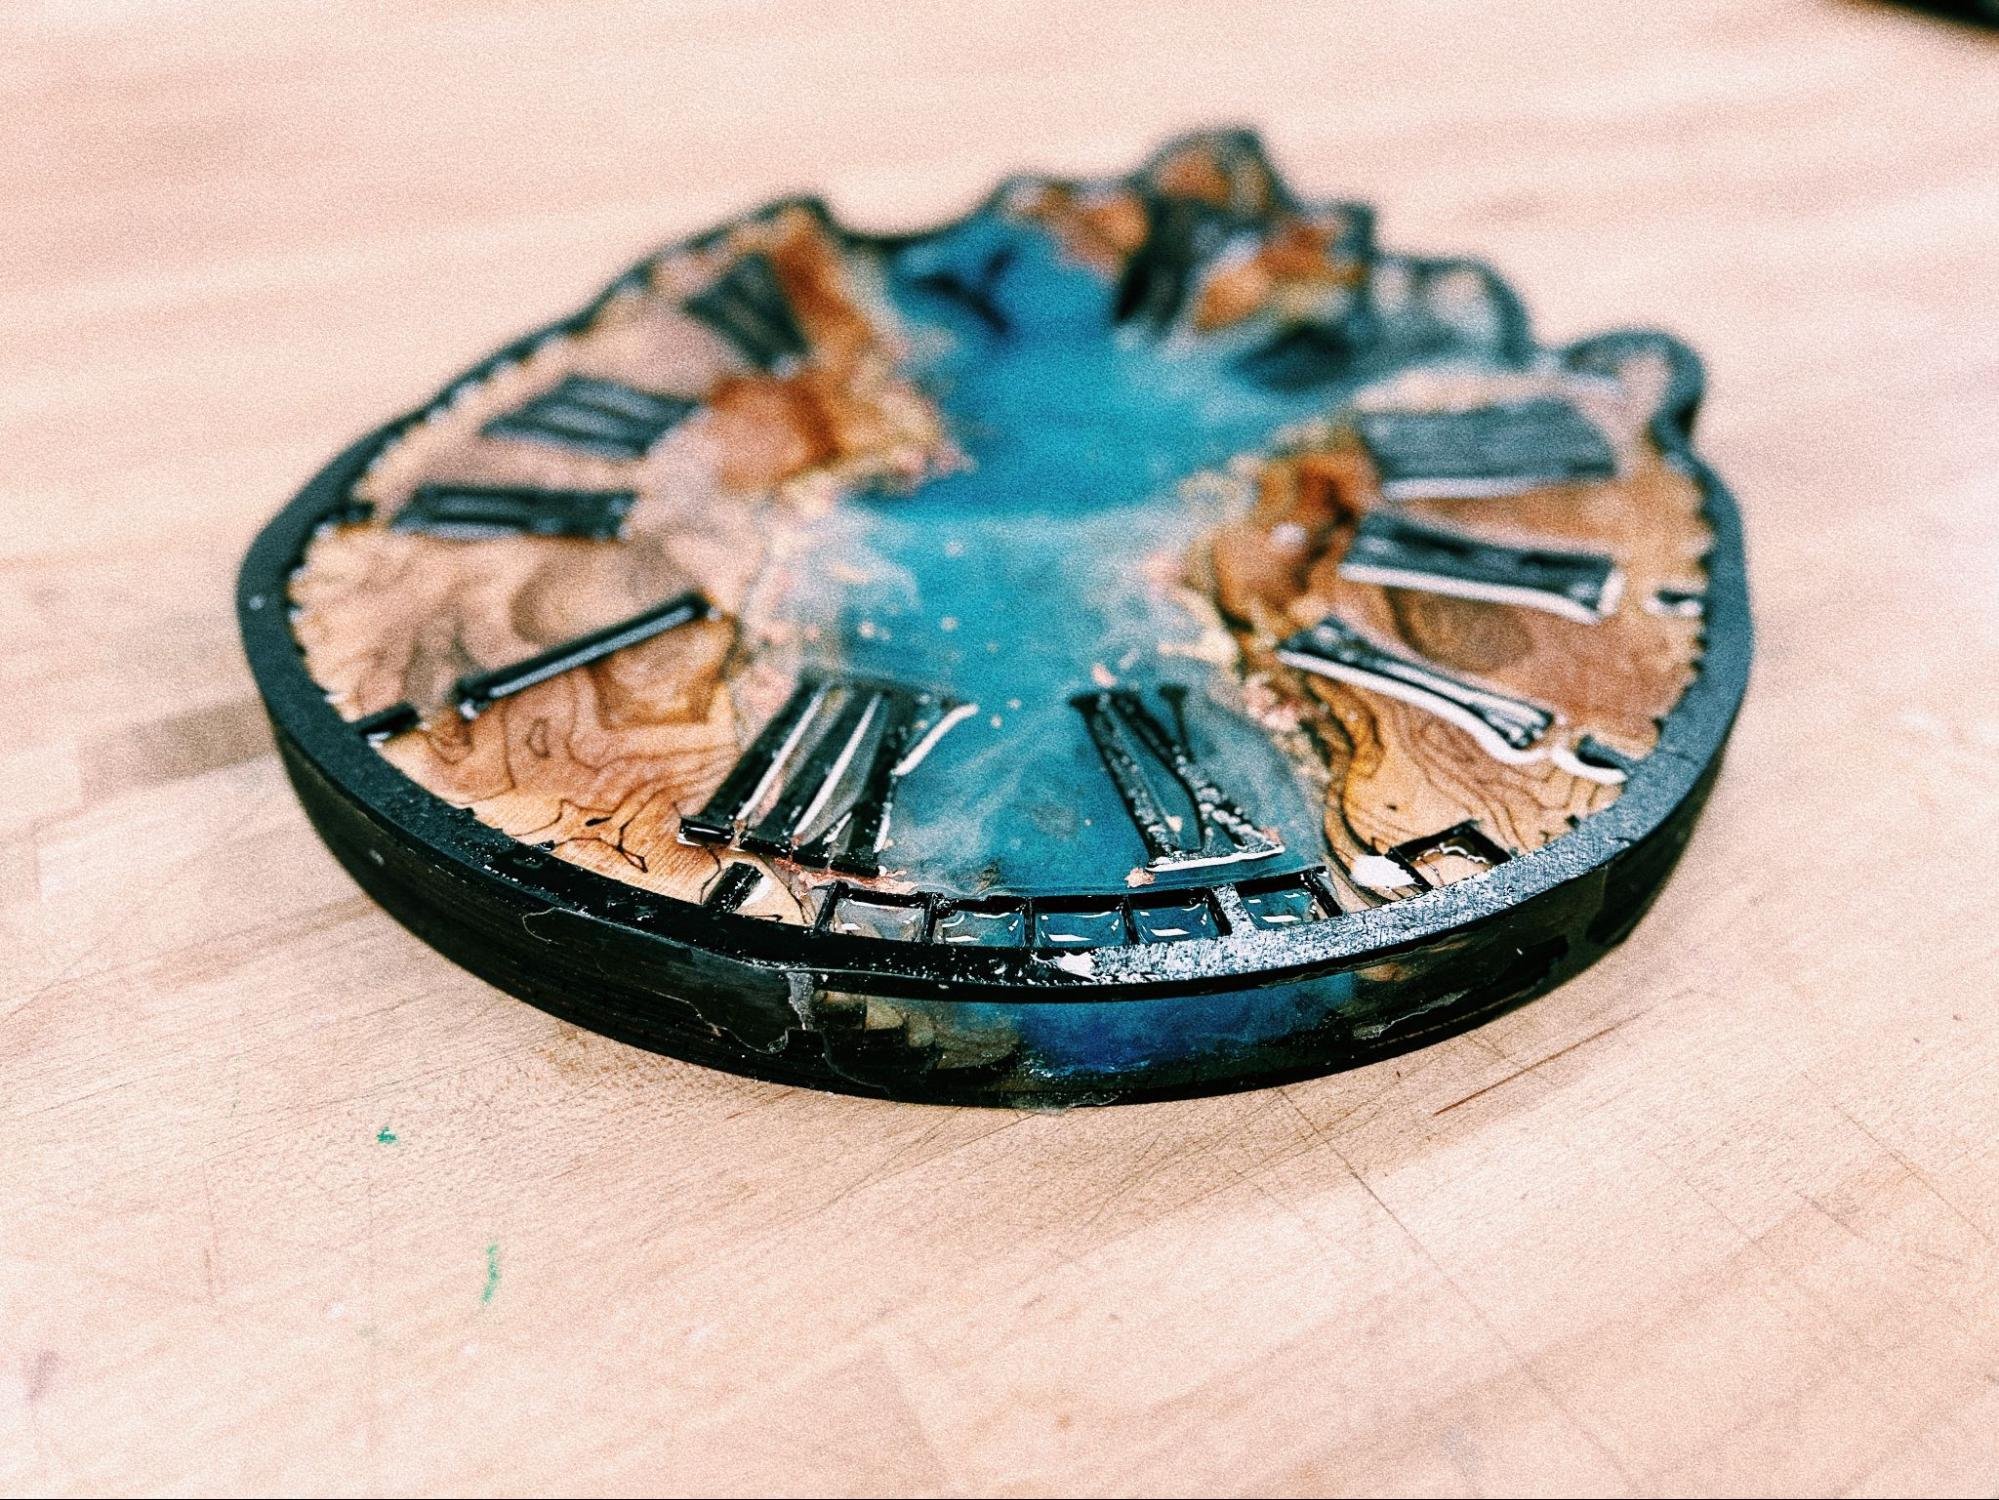
For this artisanal proficiency project, I wanted to integrate some precision elements and tools so I thought it would be fun to make a melting clock that is inspired by Dali. I’ve been loving the incorporation of maps, so I used topological map data to be engraved in each layer of the interior. Most of what falls into the artisanal realm is the resin art and the refinement of the laser cut wood layers that are in this. Here are some final product pictures from several angles.


The Process
The Design
So the main design is inspired by the melting clock in Dali’s The Persistence of Memory painting. I was not going for a hanging look but I wanted to make a non-functional clock (hence the timeless in the title) that could hang on the wall. This is the concept that I came up with:

This is the illustrator design that I put together. Each layer is a brightly different color to help me see the way that this would layer as wood stacks.
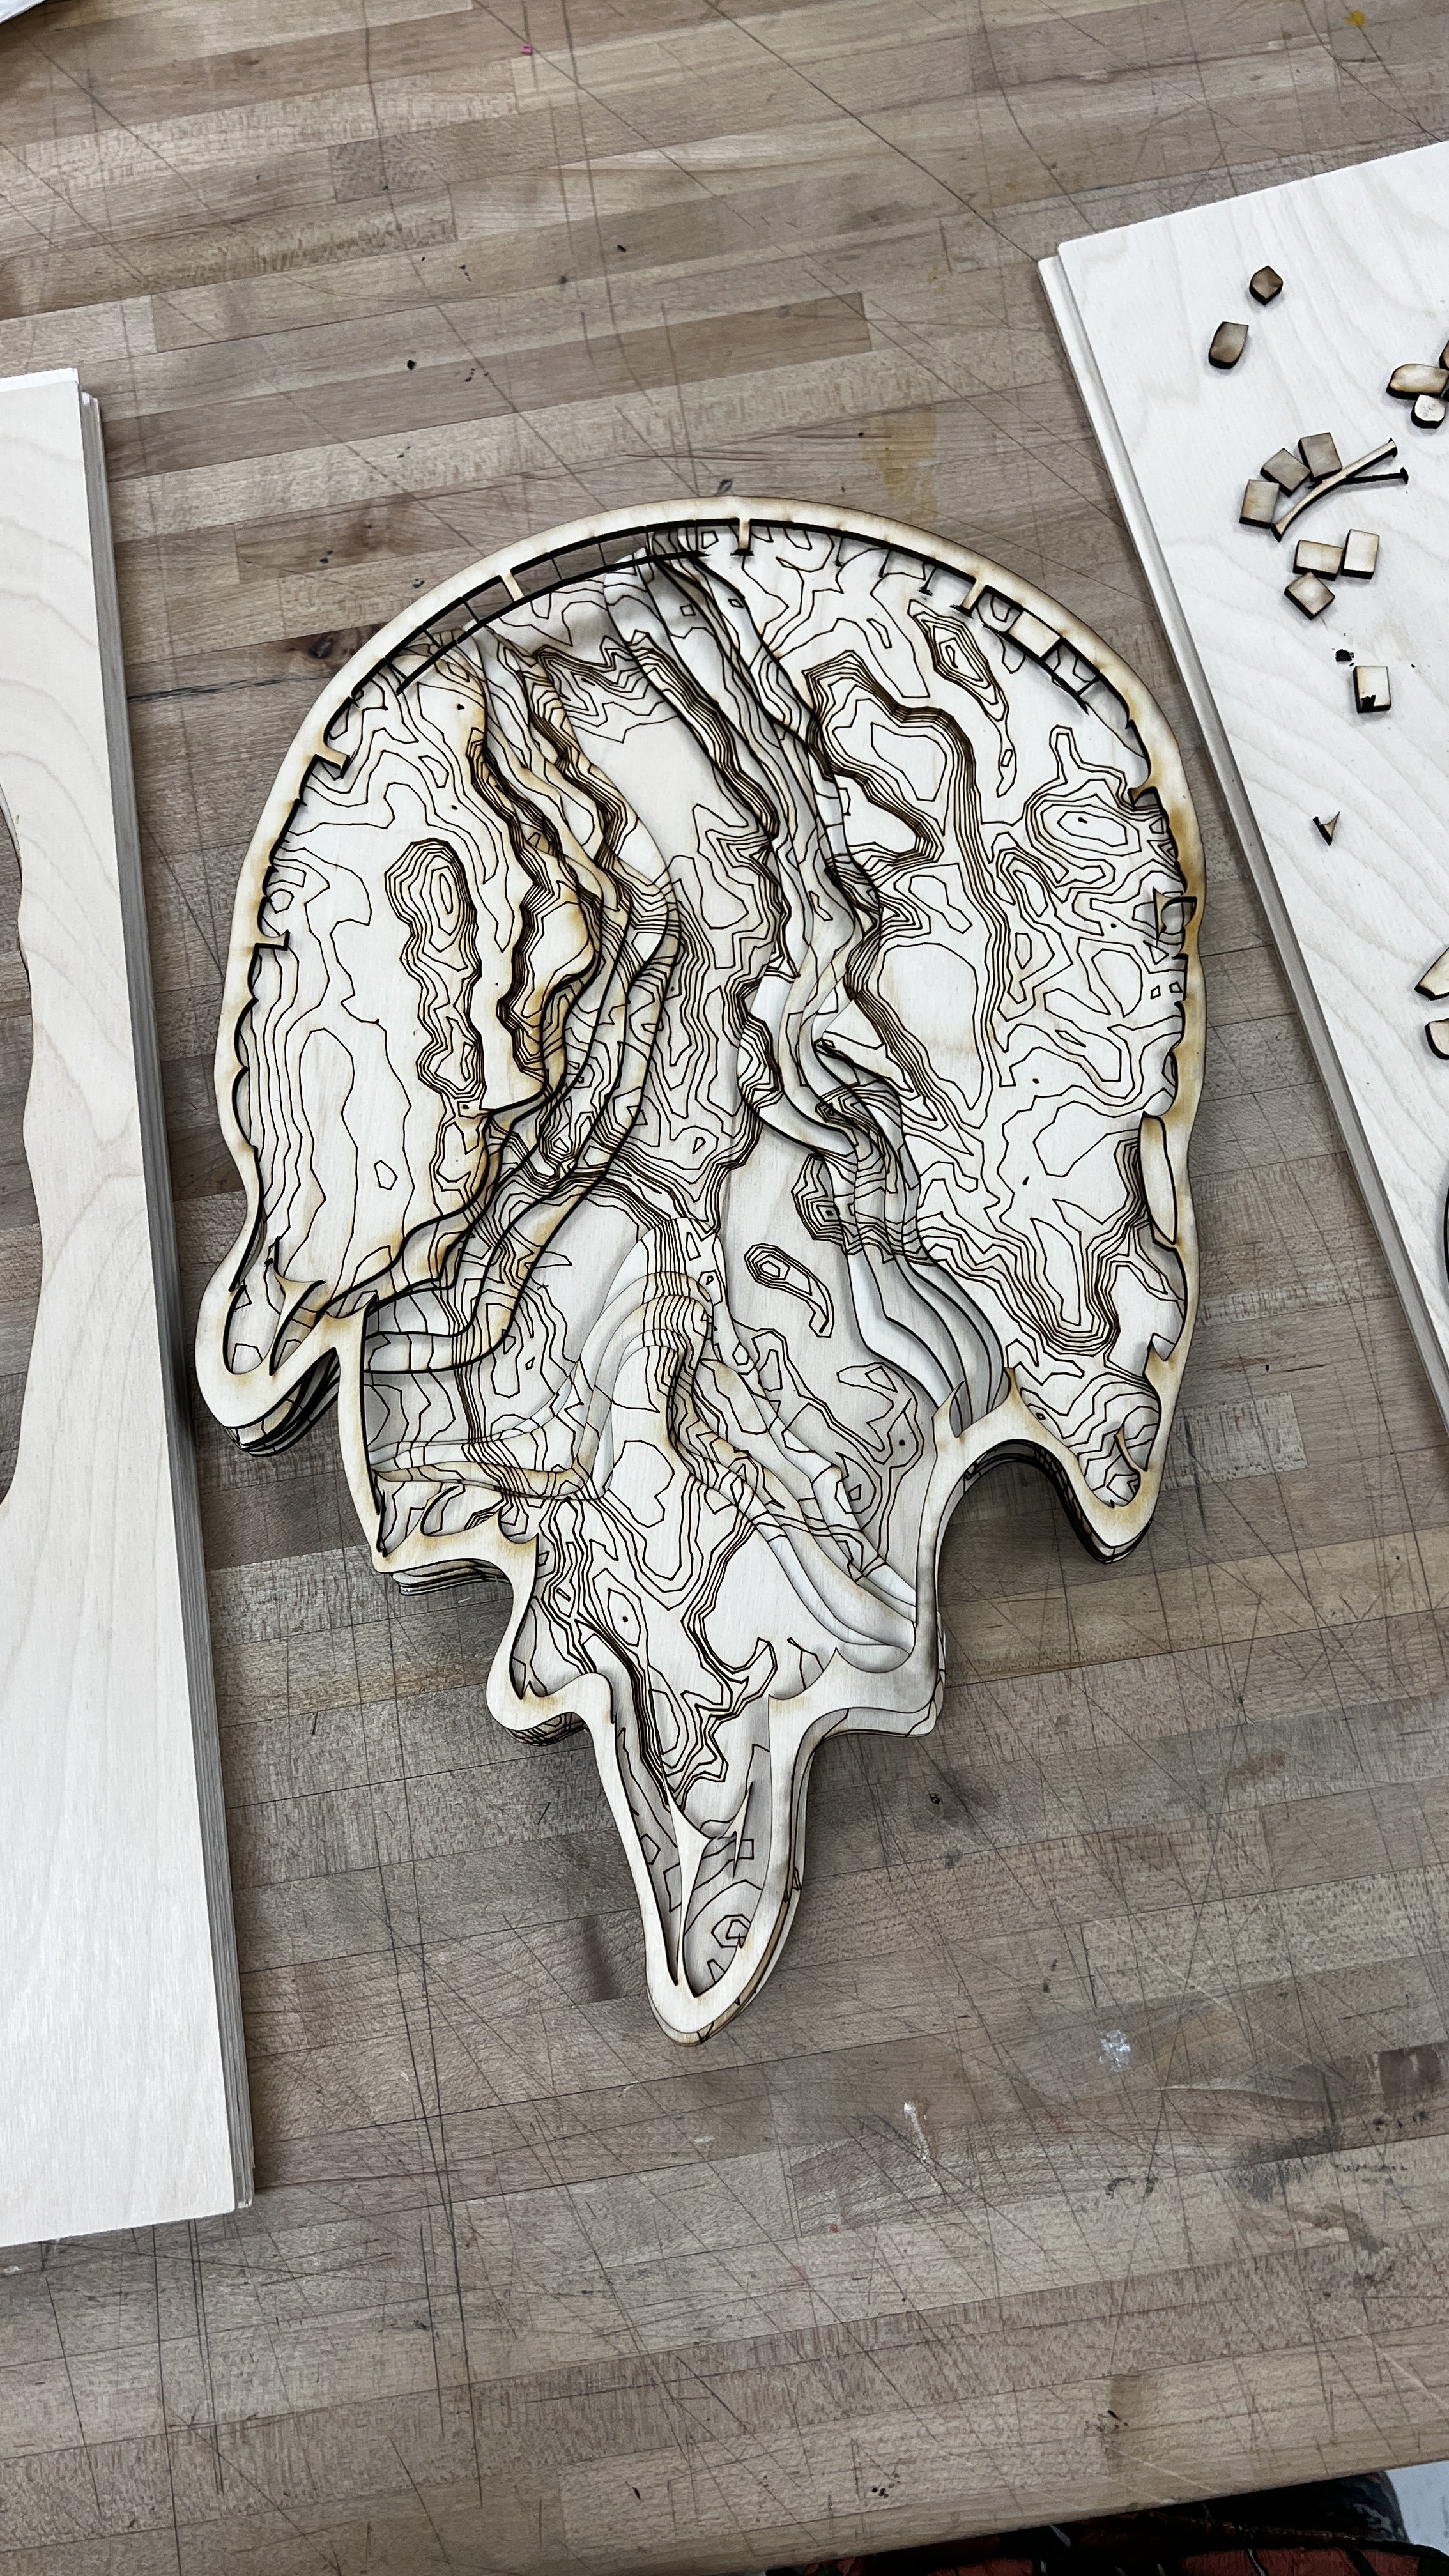
This is the fun part of the process where you can get creative about your approach to the melting effect. To make my design I used a file that I found of a clock and used the Warp Tool in Illustrator to create a liquifying tool. To create the different layers of the design, use the Eraser Tool on a duplicate of the background plate where you want the river to be. Duplicate these layers as many times as you would like (depending how thick you want them, I set mine to 6 different layers). For each layer, make sure that they are getting thinner and thinner to emulate a terrain look. Color each one of the layers differently so that the laser cutter can recognize them as separate operations. Once you are done you can also download a Topological SVG of a location of your choice and do a boolean operation with the background plate. We will set this as a score for each one of the layers in the laser printing process.
Stacking the Layers
I didn’t have a chance to take a video of the different laser cut designs in the real world but above is a little animation to show the stacking. I was thinking that having the corners sealed in each layer might make things easier (and it would have), but keeping this design ended up being a lot prettier to appreciate from the side. But maybe next time I can have a layer of the wood padded and then sand it off once the resin dries! Hindsight!
To layer the wood pieces, I used a bit of super glue so that the resin had something solid to hold on to. I am going to post the chart that I made for my first proficiency project here for the gluing process as it is relevant here as well. At the end of the day (for me), it is Loctite Super Glue all day!
Pre-stained Layers
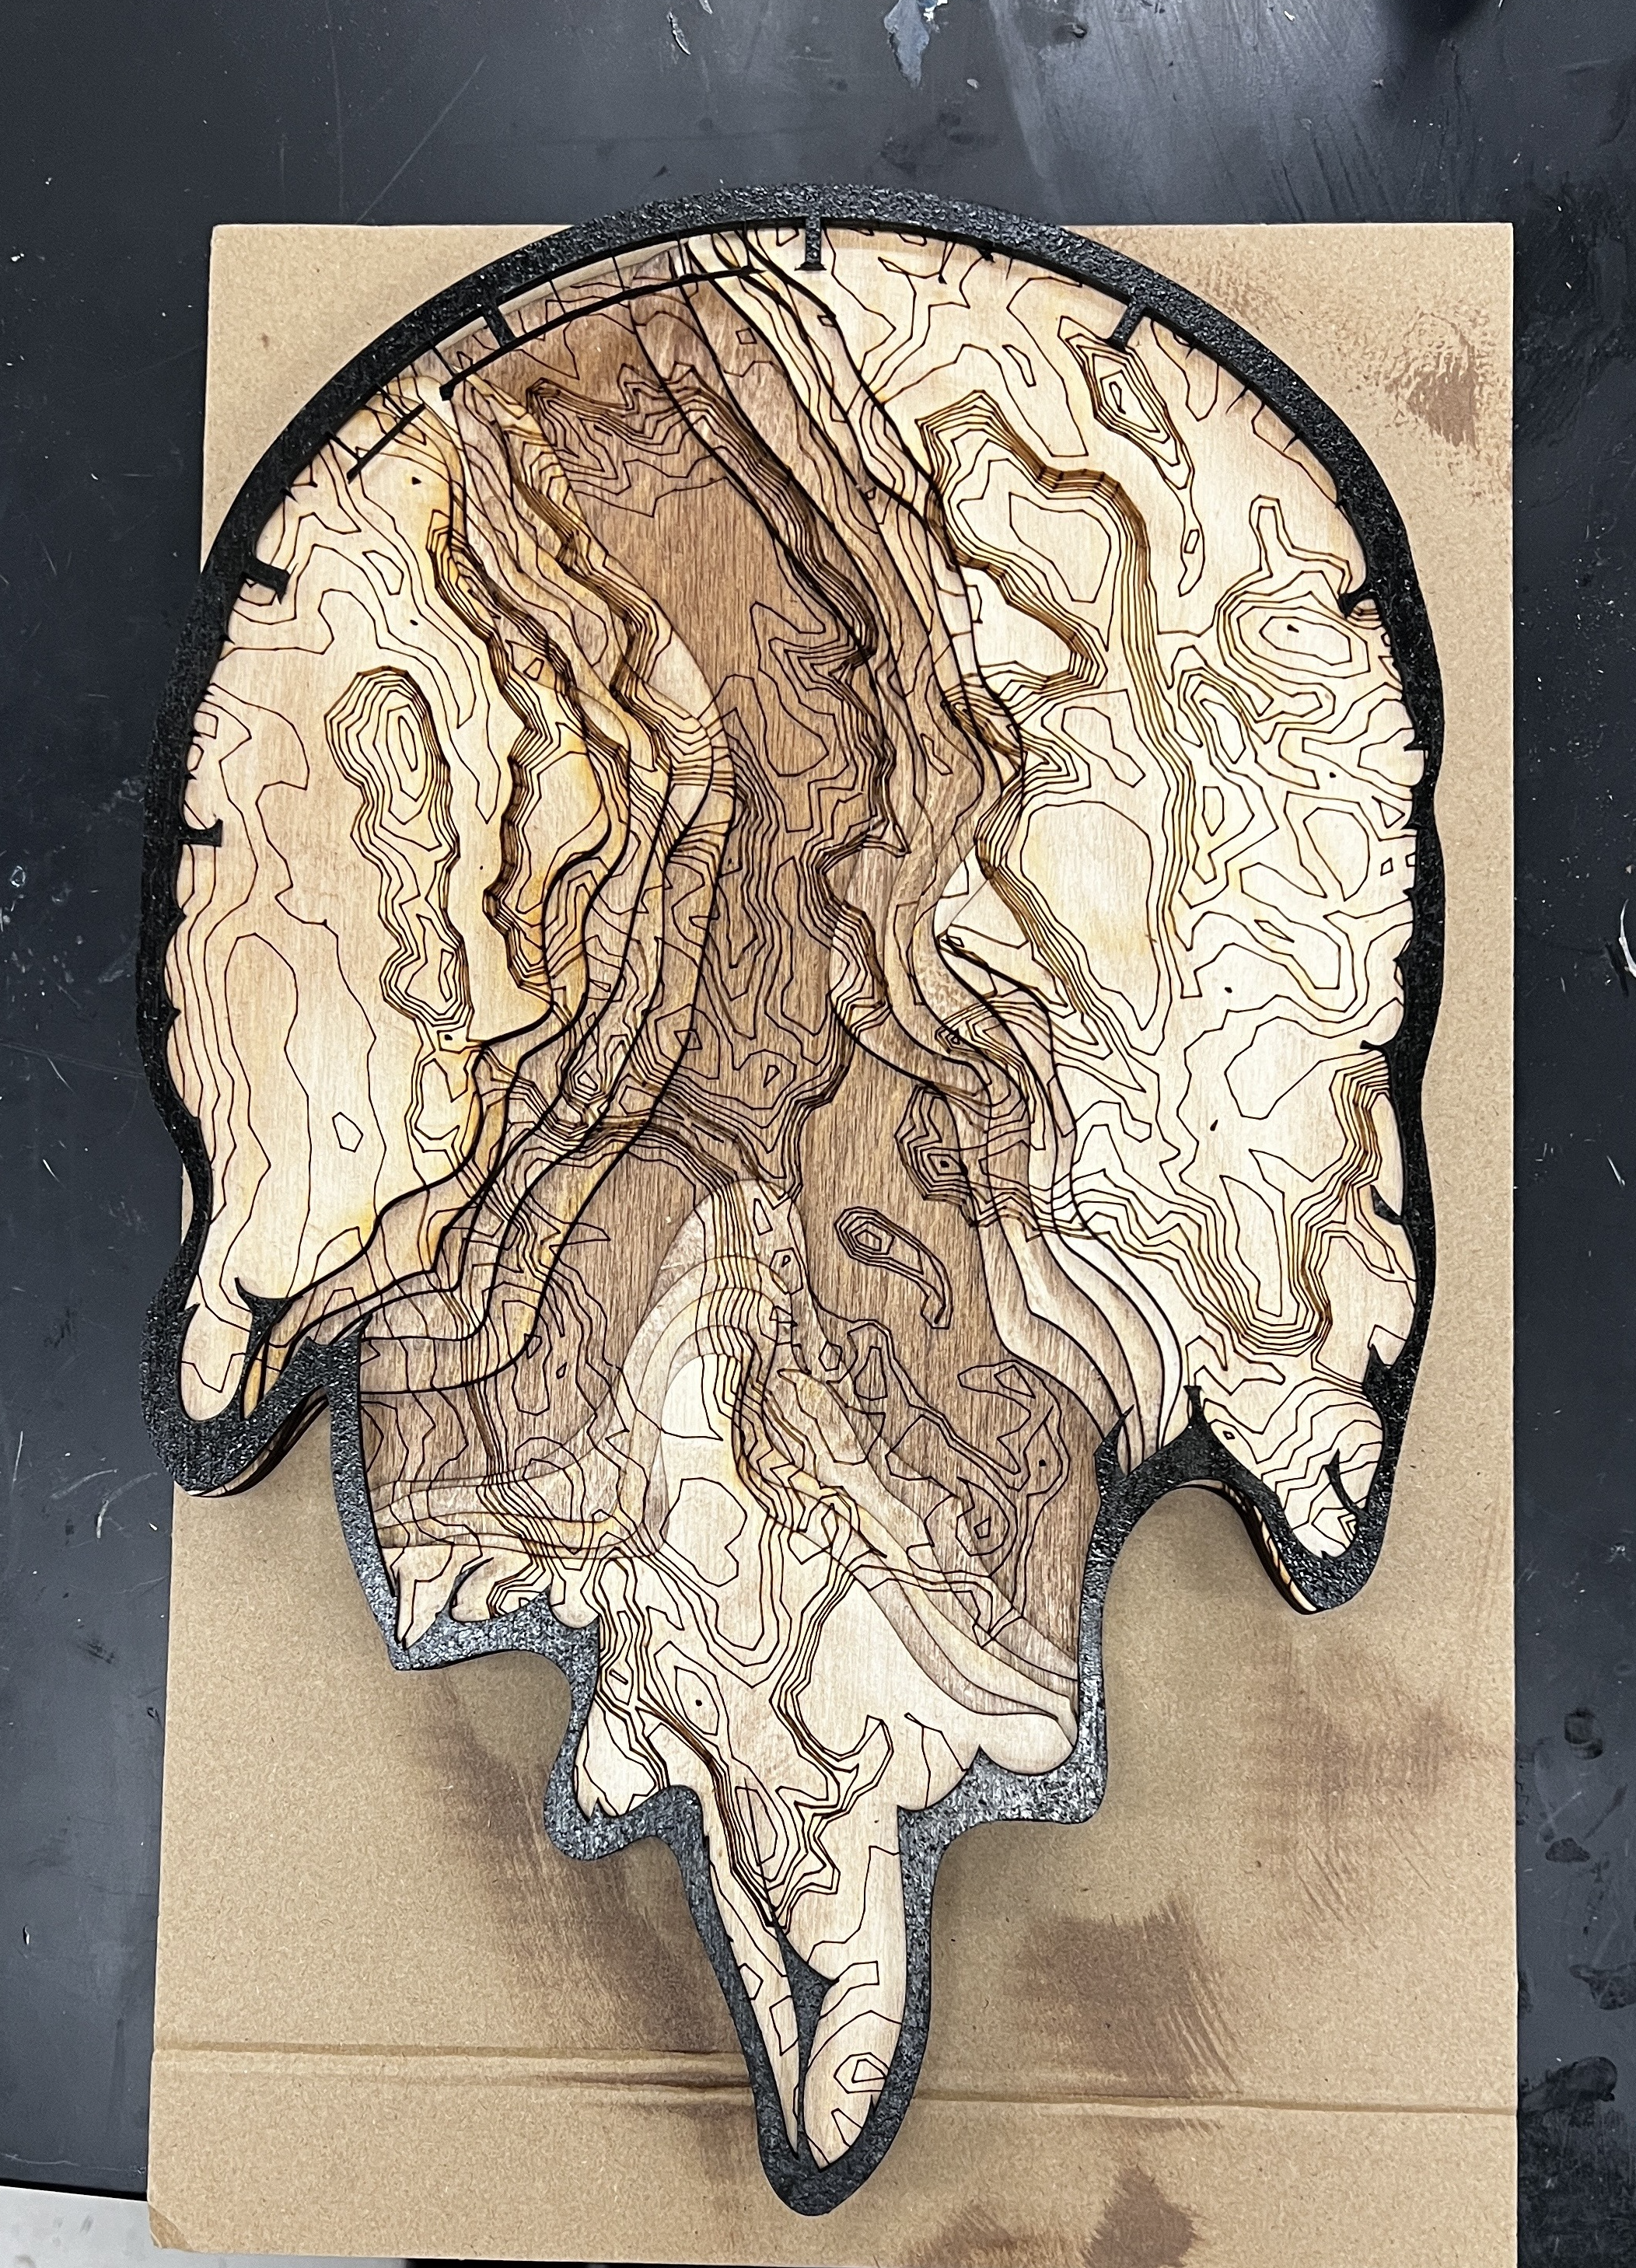
Stained Layers
Resin
Oh my, what a process. This was testing my patience and I’m glad that I got started with this process a week before because waiting for each layer to harden takes about a day. Shouts out to Sophia for helping me out with this section, I learned a lot! So the first thing that I had to do was seal off the edges with UV resin so that there was a closed container that could be poured into. Then I added clear, dark blue, light blue, and white resin to emulate the feeling of a river in the center.

Sealing off the sides with the UV resin

The different clear and colored resin layers poured in
Glitter
After this I added a couple more layers of resin with some white splashes and got some gold flakes that I thought would be a nice accent in the corners of the terrain.

Adding more white splashes in the corners & additional wood staining

Adding some gold and copper flakes
For the last step of this project, I would glue the numbers on top with Loctite Super Glue and add one more thin layer of clear resin to make it fit together. You can also leave the last layer of resin if you prefer more of a matte look.
The full instructables tutorial can be found here!