Audio Reactive Experiments
Pon(d) De Replay
Interactive Water Circuit Simulation

Four water inputs are mapped to the 1, 2, 3, and 4 keys (look below for how to reprogram the MaKey Makey) and attached to the device with copper tape and in a laser cut box.

Quadrants One and Two Activated

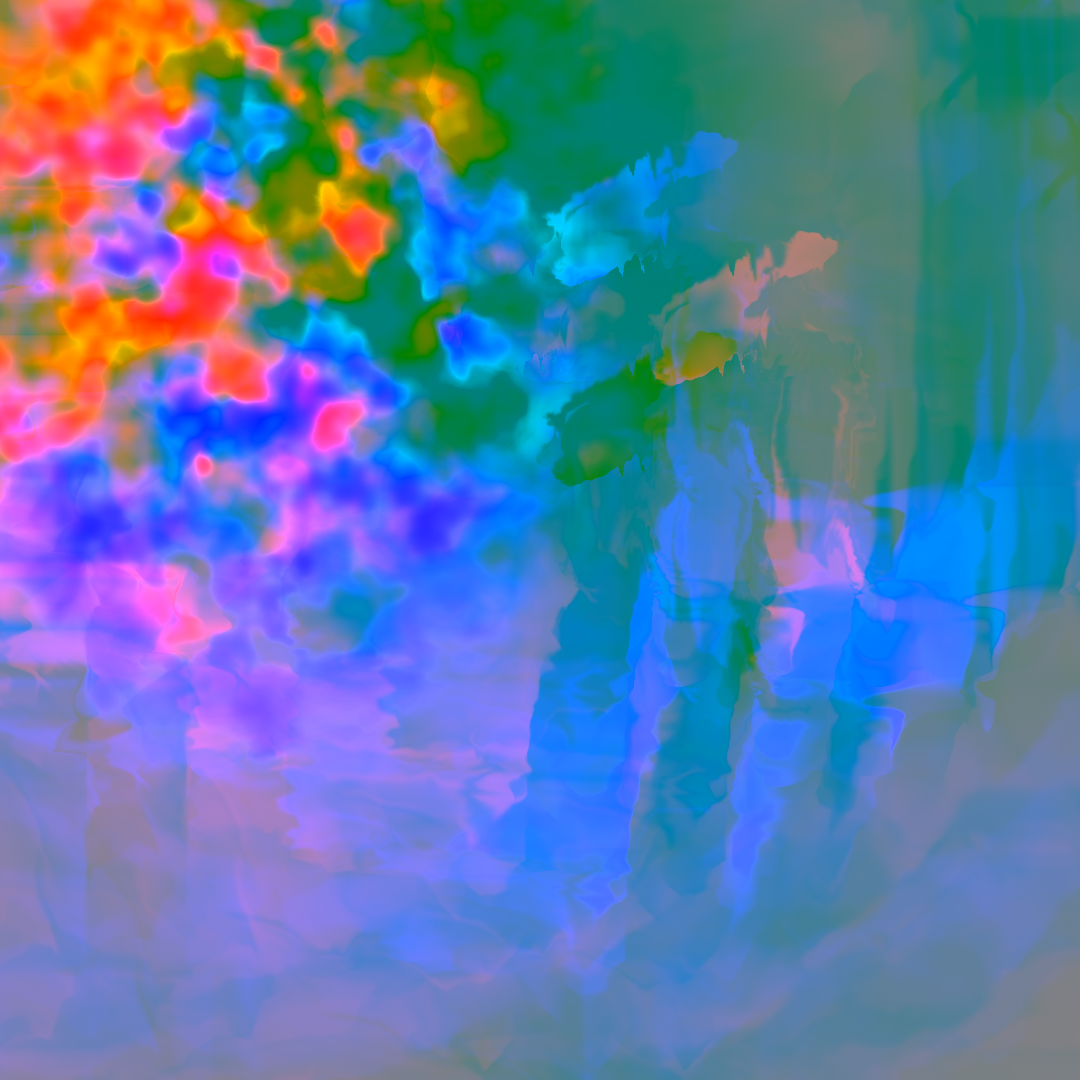
All Quadrants Firing at Once
I was really intrigued by the idea of being able to use water as possible input into the computer to feed into some sort of simulation. I explored using MaKey MaKey and TouchDesigner to create a painting experience exploiting the conductive nature of certain liquids and create some sort of satisfying sounds along the way.
In this piece, the four corners are mapped to chords that should theoretically sound decent enough when played together. I am no expert in music theory but for future versions of this it would be really cool if the user was able to play different variations of the chords based on the relative location of the finger to the center of the water source.

Water inputs interact with a TouchDesigner and emulate water colors and trigger chord sounds.
Touch Designer Breakdown
Particles To Ripples
There is an underlying simulation that I added as kind of the devil in the details type of thing. I have a particle system with a low birth count and some wind forces that emulate the motion of some abstract ripples in the pond by some fishies.

In order to get the effect of the ripples themselves, I use a feedback loop (you can think of this as the for-loop equivalent of real time computation). In this feedback loop I am using an edge detection method that is added over a blur in order for the results to progressively get dimmer over time of the simulation results.

The final version of the background ripples

Birth rate at 5x to demonstrate effect
Making Audio Loops
This is a short one. When making an audio loop for something that is ambient — in my case it is the sounds of nature in the woods as the water from the everglades kisses against the rocks — it is important to make sure that there is a clean break from the end of the clip to the start of the clip. The way that I like to do this is by actually breaking the clip in half and realigning it such that the middle is the section that you have to do the surgery in. Then I make sure that there is enough buffer in the middle of the clip and then add a transition of constant power:

The middle of this re-assembled clip is actually where the original beginning and end are and I trimmed them down some more so that the transition would have more data to interpolate within the constant power transition. When we play this back, you can’t tell that there is a cut anywhere. This is something that can be done in most audio editing softwares, but I am using Premiere Pro as that is what I am most familiar with for assembling clips.
The Noise
For the second component, I used a noise function that is partitioned into four quadrants of the 1080x1080 canvas. My goto noise of choice is Perlin, but I opted for a Simplex 3D noise for the purposes of this effect. I am used to setting effects that are simulated over hours or even days so Perlin would normally do the job. Although for this project, I put put my optimization hat on so the time complexity savings of Simplex made sense to try out as the visual results are comparable. Simplex noise scales to higher dimensions (4D, 5D) with much less computational cost: the complexity is O(n2) for n dimensions instead of the O(n·2n) of classic perlin noise. Below are the results of the same parameters (amplitude, harmonics, period, etc.) with the respective function in my scene.

Perlin Noise

Simplex Noise
I started writing more about this but realized that putting some more sources for interested ones to explore is best lol. Here are some more great investigations into the world of noises (also happy to nerd out with anyone that likes talking about this stuff):
Reprogramming MaKey MaKey
So there was this fantastic bug feature that I ran into in TouchDesigner where valid keys are the numbers 0-9, letters A-Z, and keypad 0-9. This meant that the up, down, left, and right keys that are automatically programmed into MaKey MaKey would not work with the simulation that I had built. Thankfully there is actually a really nice and easy way to program these keys to be whatever you want! These are actually so well programmed, I didn’t need to install a single thing for any part of these steps. The only thing is that it has to be v1.2 or higher. The entire preprogramming procedure can be done in a browser and theoretically can do it all with your conductive hands :)

Image Courtesy of MaKey MaKey
The full walkthrough of these steps can be found here.
While doing this I also discovered that there is a BACKSIDE that has other keys pre-built into it. Not only that, you can control MOUSE MOVEMENT!! SO COOL 🧊This opens up such avenues for future projects but I wish this was something I found out earlier. Take this information and run with it though 💨
The Slope
The next big part of this effect is the slope function which is basically calculating the value difference of each pixel’s channel (RGB and Alpha if you want) value relative to its neighbor and mapping that on to a value of 0 to 1. The default RGBA pixel values range from 0 to 1. If the value is .5, it means that the neighboring values are equal to the pixel's value. In the red channel, values above .5 indicate a left-to-right increase, while in the blue channel, values above .5 indicate a bottom-to-top increase. For a clearer representation of negative numbers, it is recommended to switch the Pixel Format parameter to 32-bit float RGBA, set the Zero Point parameter to 0, and view the Normalized Split of the TOP view. Here is a more detailed expansion of what this function can do and all the wonderful things you can derive from it in your code:

This is what the slope layer looks like

This is the output after everything is put through a feedback loop and massaged with some trickery.
Individual quadrants are demonstrated below:


Something that is hard to capture with a couple of pictures is the fact that the slope is integral (yes, this is a math joke as well) to the effect dispersion when one of the quadrants is triggered. This is also happening in a feedback loop that makes some other adjustments to the HSV values of the normalized gradients in the slopes.
Arduino Audio Spectrum Analyzer
For this project, 8-bit shift registers, loads of colored LEDs with their respective resistors, a microphone, and an Arduino Uno were used to create a spectrum analyzer. The encasing is wooden laser cut design with some sneaky soldering work in the back and a base that houses the electrical components.
The first step in this project was to adjust the sensitivity levels of the microphone to the environment to essentially filter out background noise. After getting successful input from the microphone and mapping the amplitude to a set of 5 LEDs, now it was a matter of how to create a spectral analysis on an 8x8 grid of colored LEDs. This is where the 8-bit shift registers came in handy as it allows one to input, shift, and output values one bit at a time, controlled by a clock signal. This is useful for tasks like data storage, manipulation, and efficient control of multiple outputs in electronics projects. In this particular case, it was used to shift the amplitude data over time, acting like a wave of the input signals that were coming into the microphone.
Physically Based Audio Synthesis System
An Independent Pixar Research & Development Project
During my time at Pixar in 2016, I had the opportunity to conduct an independent research project of my choosing. Seeing how there were practically no automated audio tools (dare I say audio-mated?) in the studio, I wanted to explore the possibilities. By computing simulation properties of a scene such as velocity, point of collision, and distance from camera, I was able to use this data to create physically based audio. The user of this program has the option to select the material type of the objects in the scene and can either define its volume, or that can be calculated as well through the system. All these components drive the final output. As an added layer, the user can define regions that won’t calculate any sounds or lower their contribution to the end result. I also expanded the tool so that reverb can be added either by simulating bounces in the scene or driving it with a post-process filter, this feature is not demoed in the video as the content has not been released.
Record of a Thousand Words
Taking the concept of varying line weight in order to create an image, this experiment takes it a step further by mapping the audio signals of a song along a record. When viewed at an angle the audio signals form an image by their weight distribution through the duration of the sampled audio. Since this is currently limited to a one signal per a sample point, the audio frequency ranges that are accumulated and put into the record are customizable.

To the right are some still images showcasing details that might have been lost in video compression.
The next steps of this project is to make these records customizable for any user and 3D print them with material that would be able to have the fidelity needed to create clear images with this methodology.


Real-Time Experimentations
[WORK IN PROGRESS] This is the first iteration at an attempt to hear images. For testing purposes, I am using this painting a friend of mine made and sampling the color and average luminance of the pixels in the sample area. Those values are converted into samples from a sine wave. The application modulates throughout the image but the user can scan the image themselves for a more creative control.
Animated Audio-Driven Shorts
Some fun I was having with animated audio-driven shorts to songs that I couldn’t get out of my head.